How to Fold an Easy Origami Sword
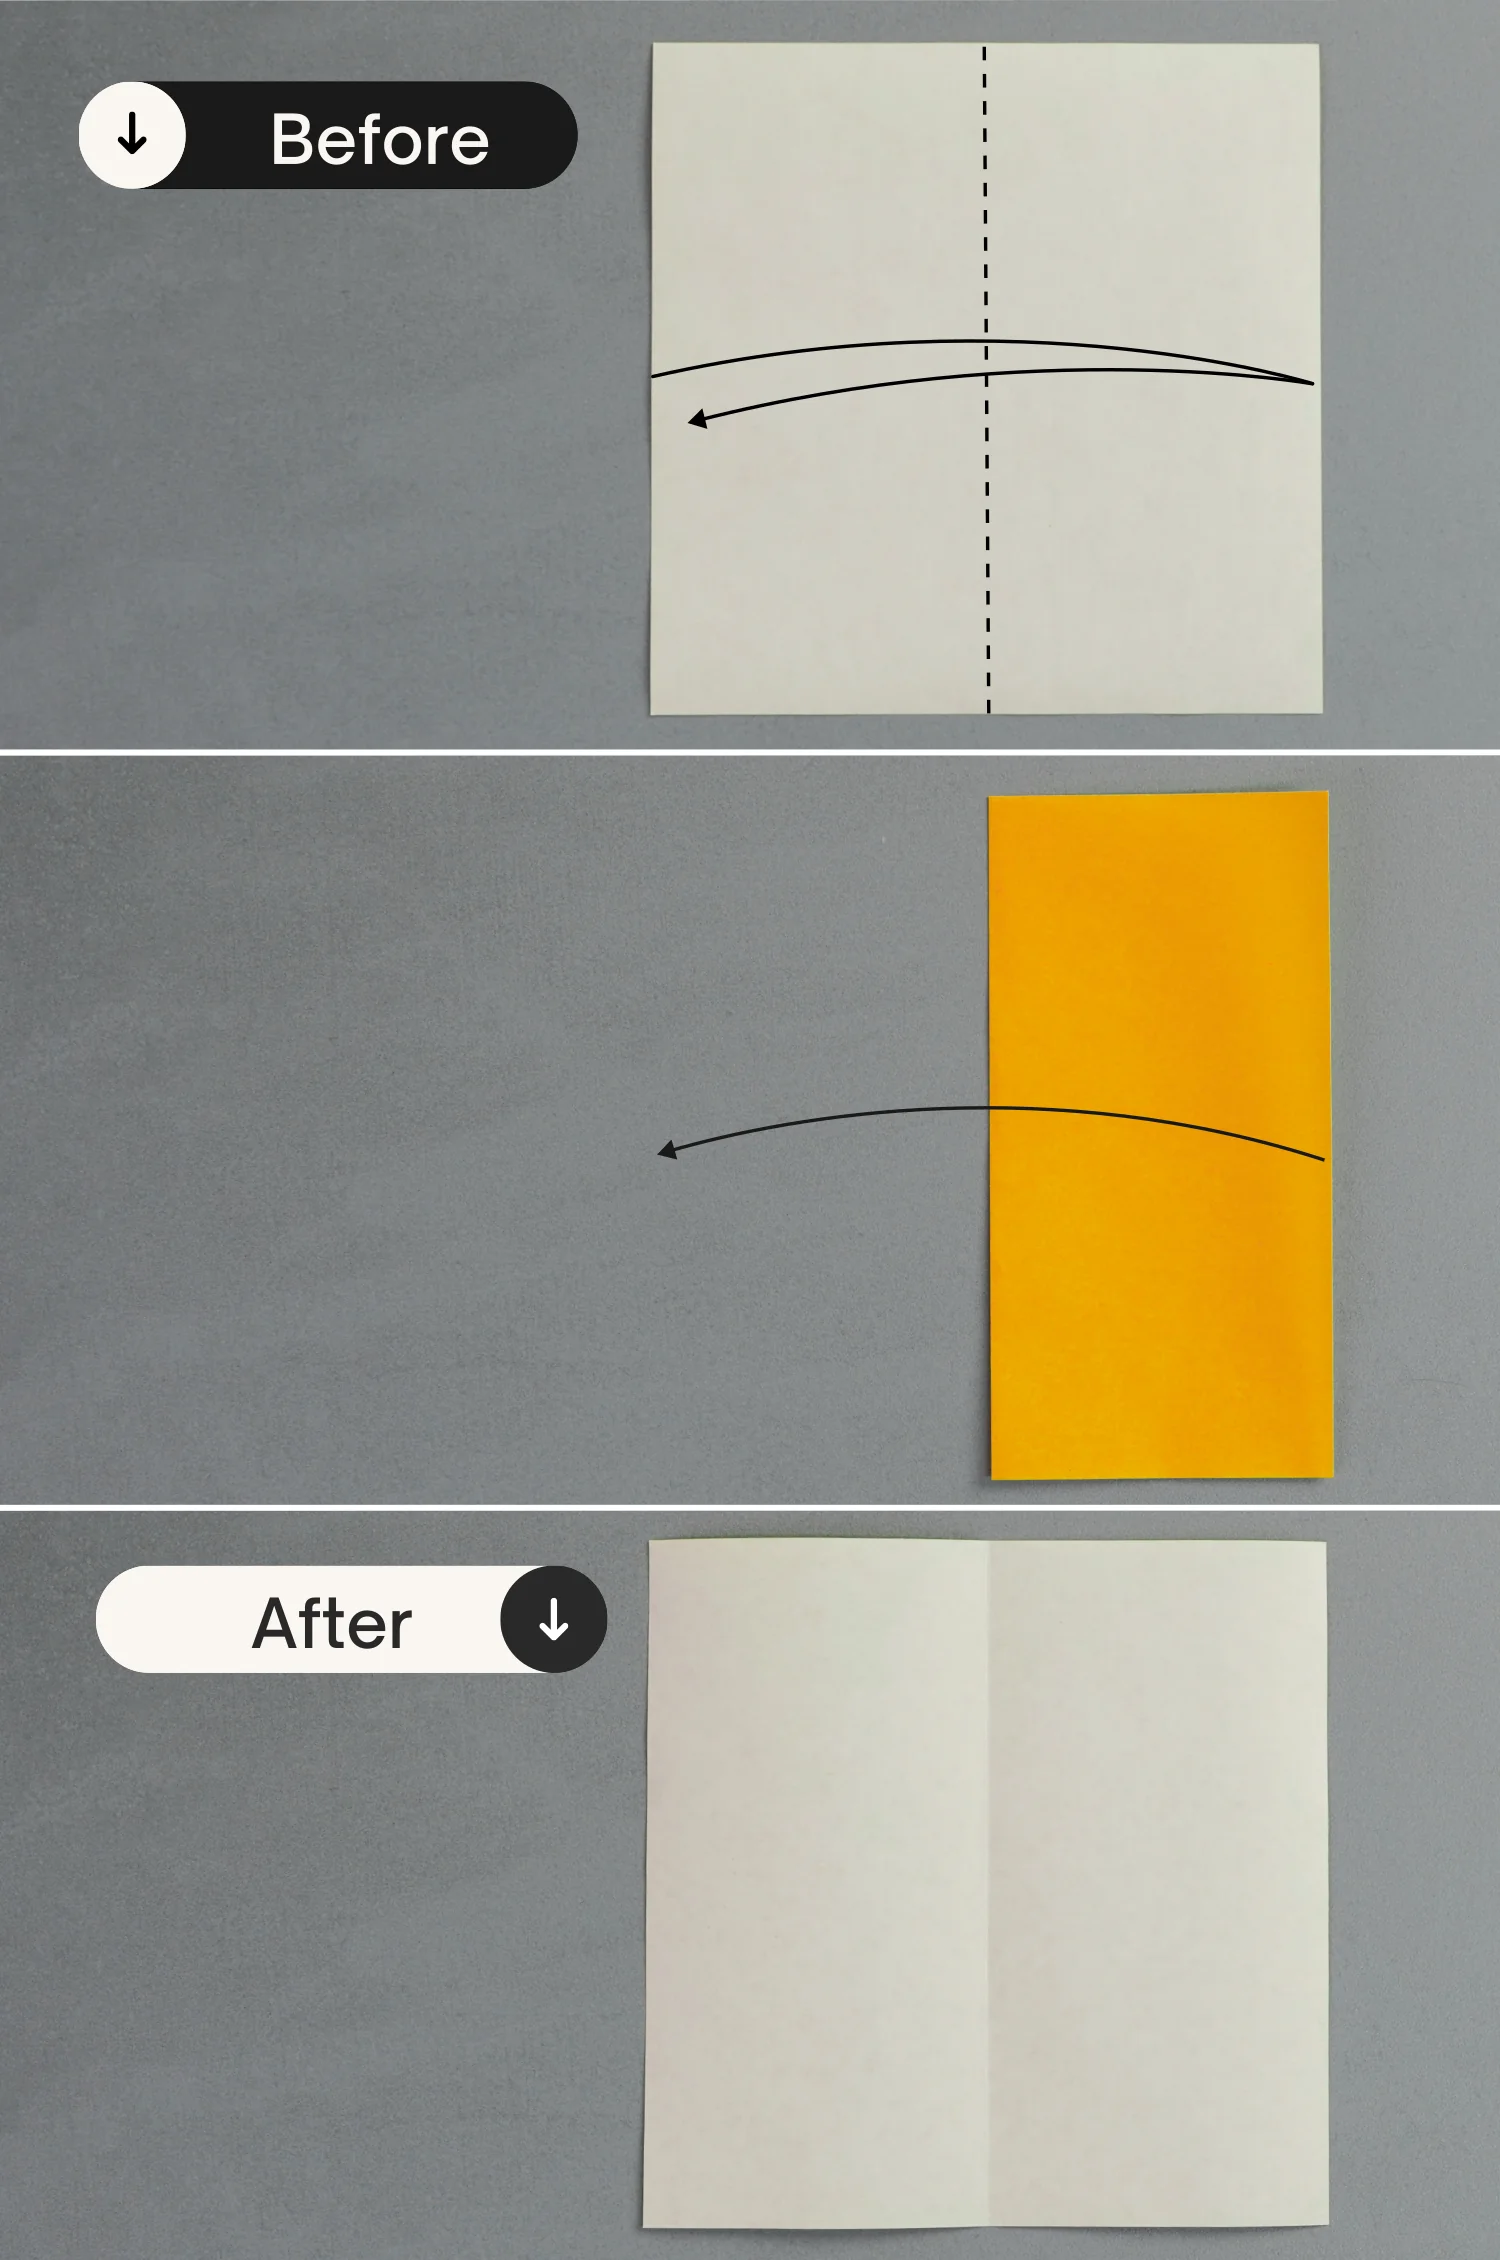
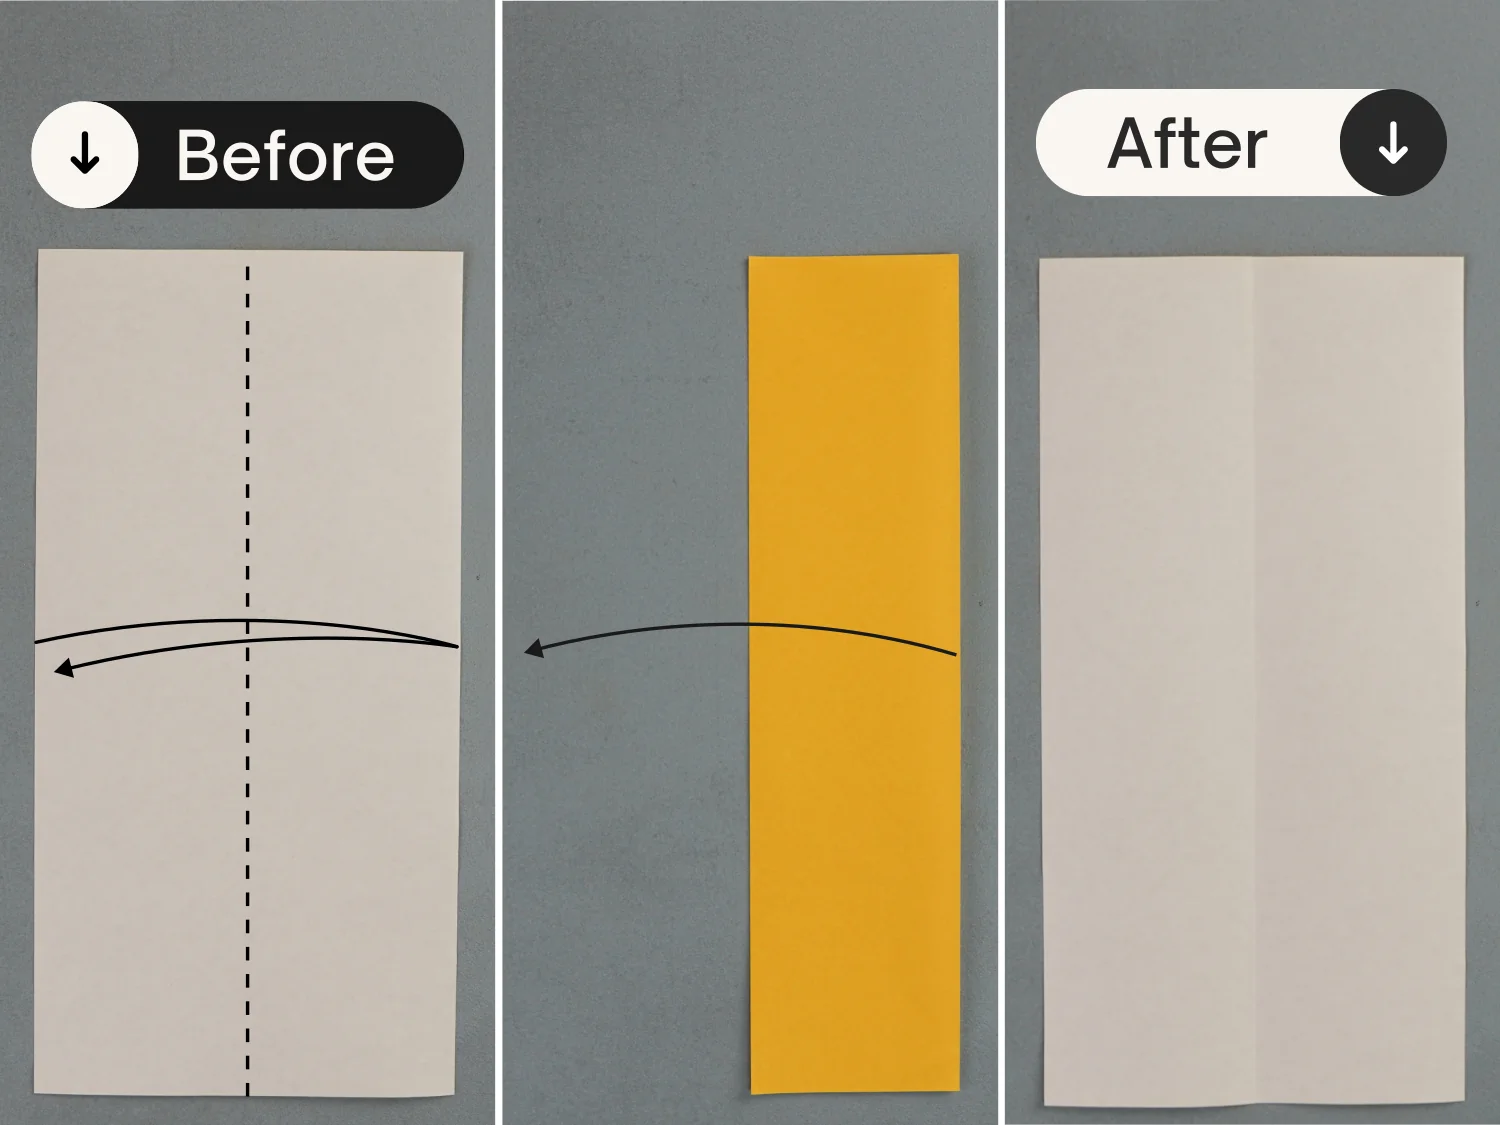
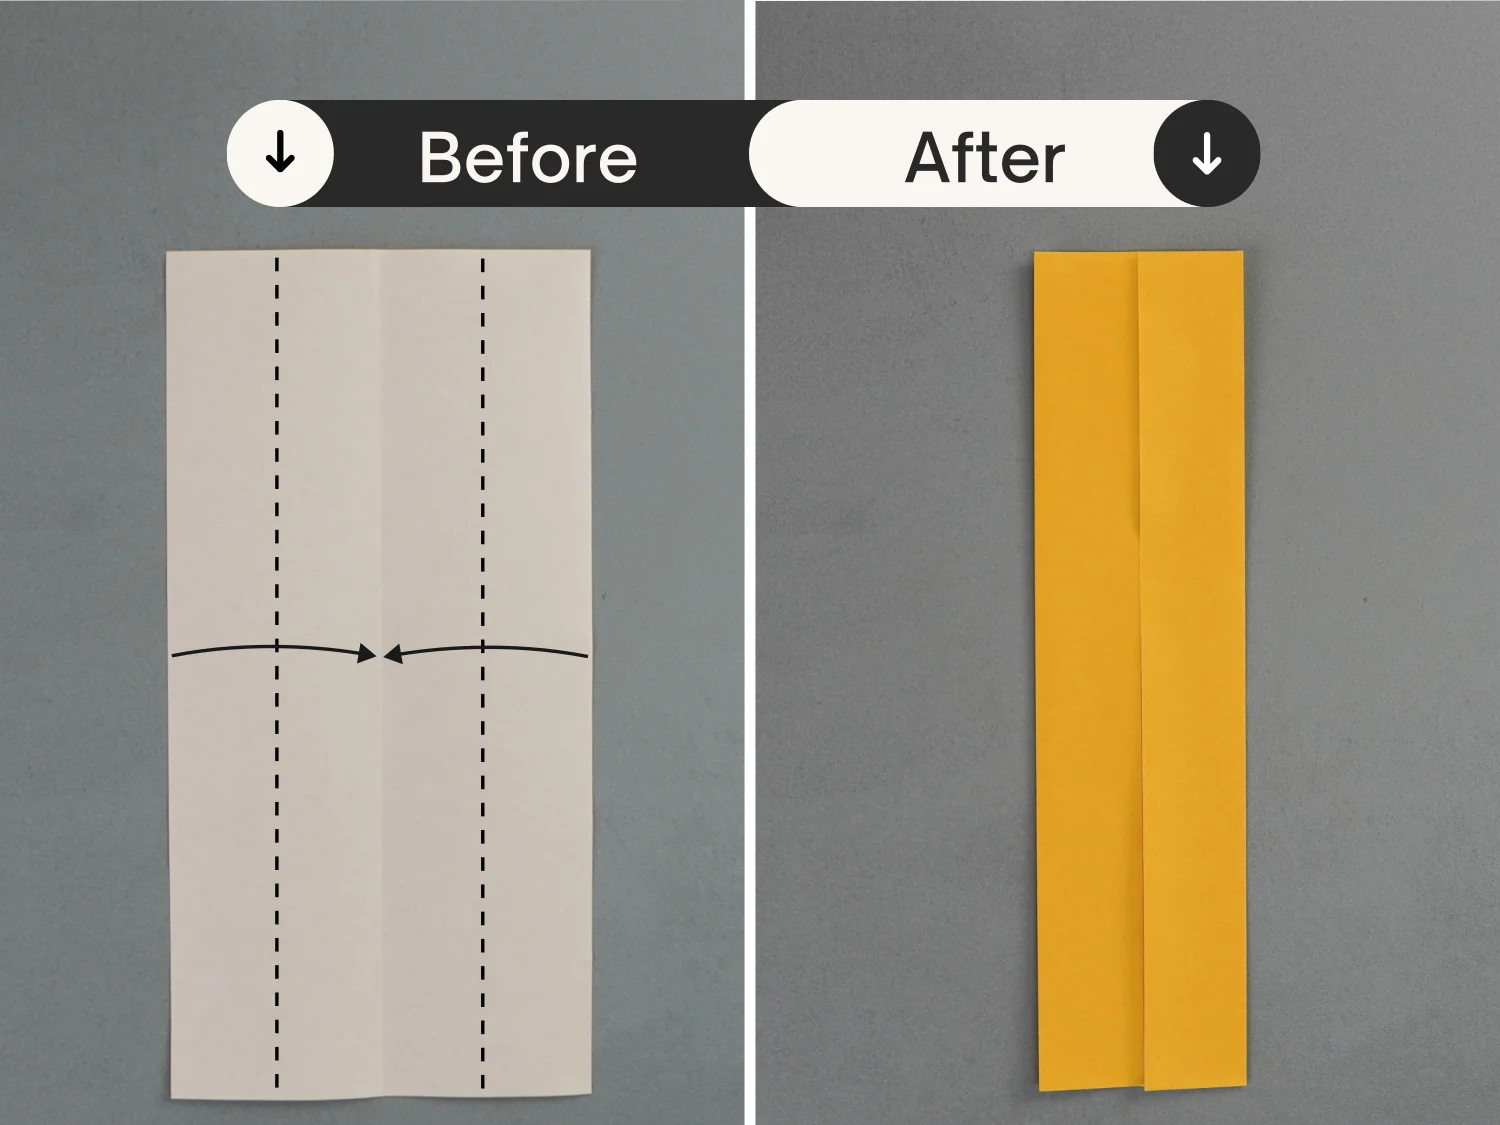
Step 1
Place the paper with the desired display side facing down to begin folding. Fold it in half vertically, leaving a crease, and unfold it.
Step 2
Fold the top left and right edges to align with the vertical crease.
Step 3
Fold the left and right corners along the black dotted lines, leaving two creases, and unfold them.
Step 4
Flip the paper from left to right, then fold the two creases you made in the previous step to align with the center vertical crease.
Step 5
Flip the paper from left to right, then fold these small corners diagonally along the dotted lines.
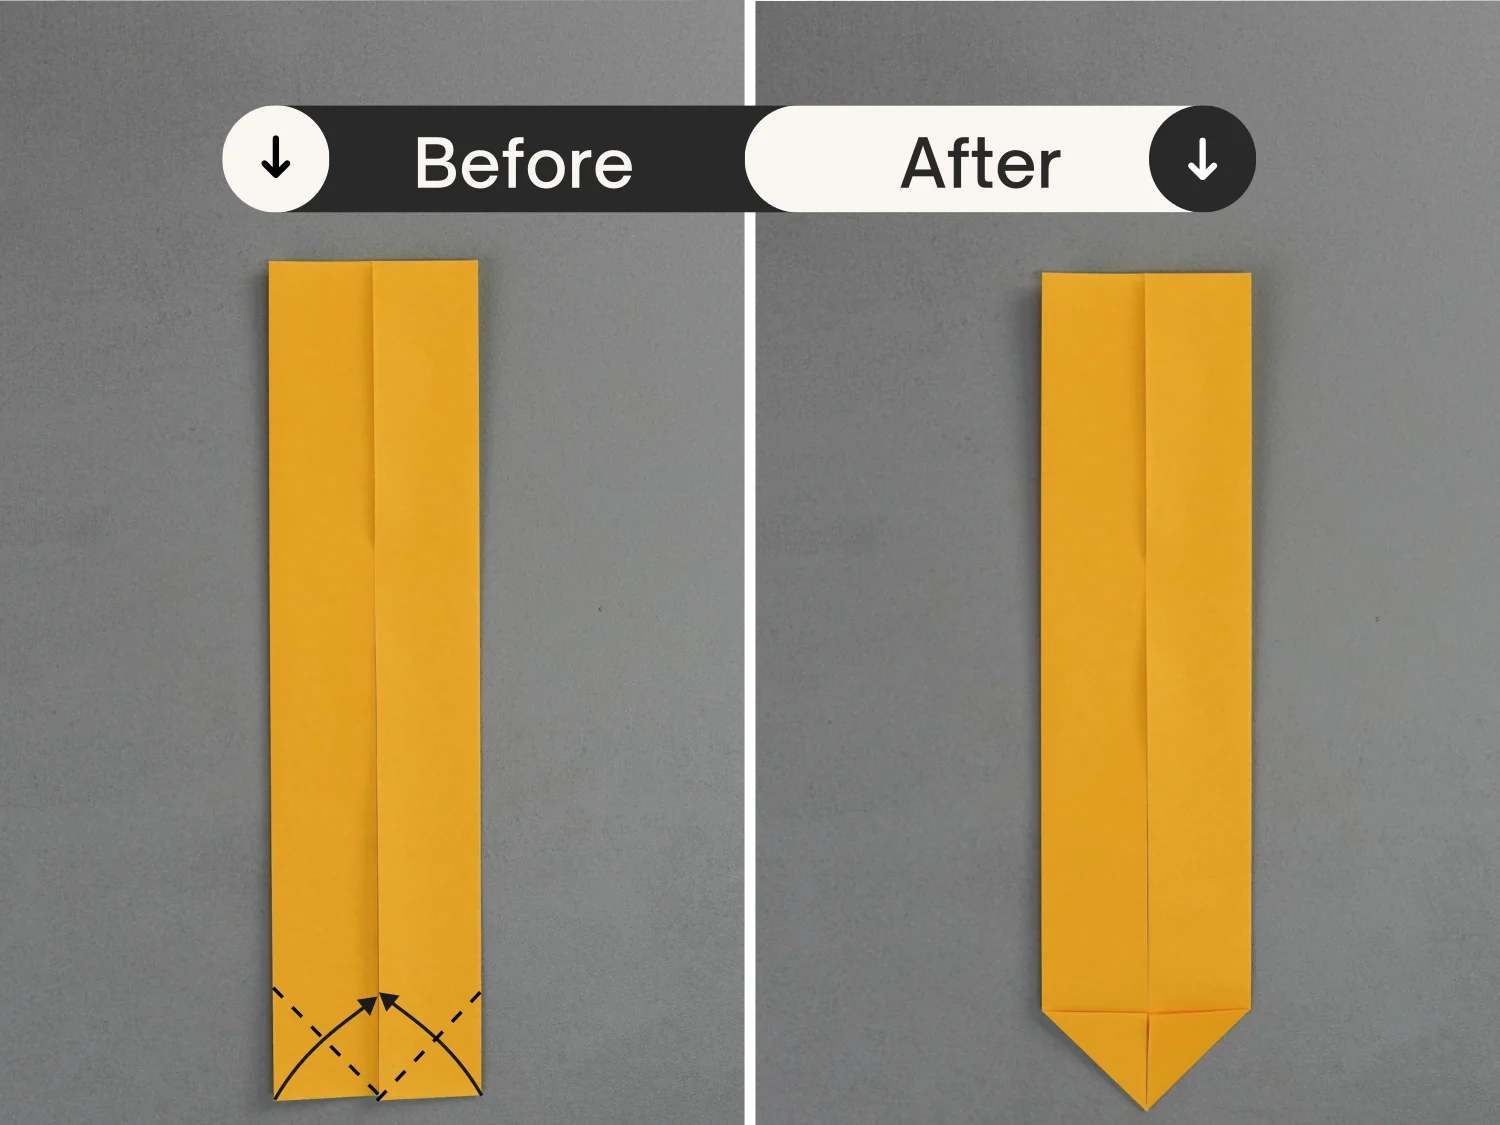
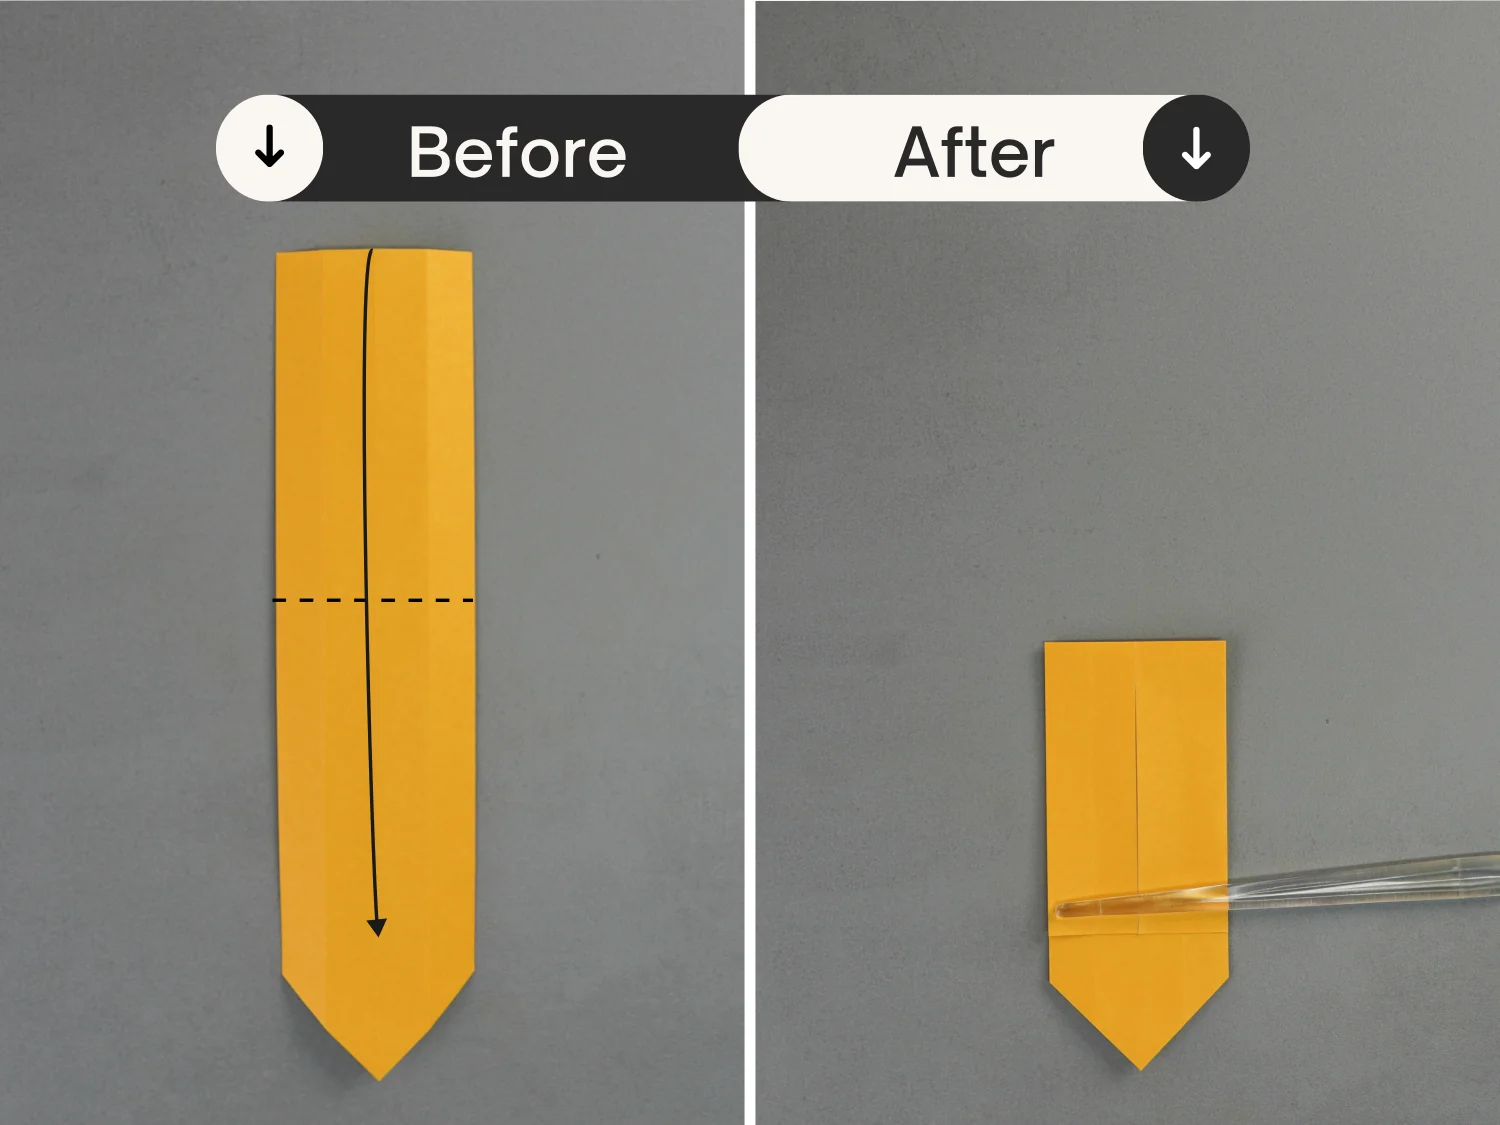
Step 6
Turn over the paper from left to right, and fold up the bottom corner along the black dotted line, leaving a crease, and unfold it.
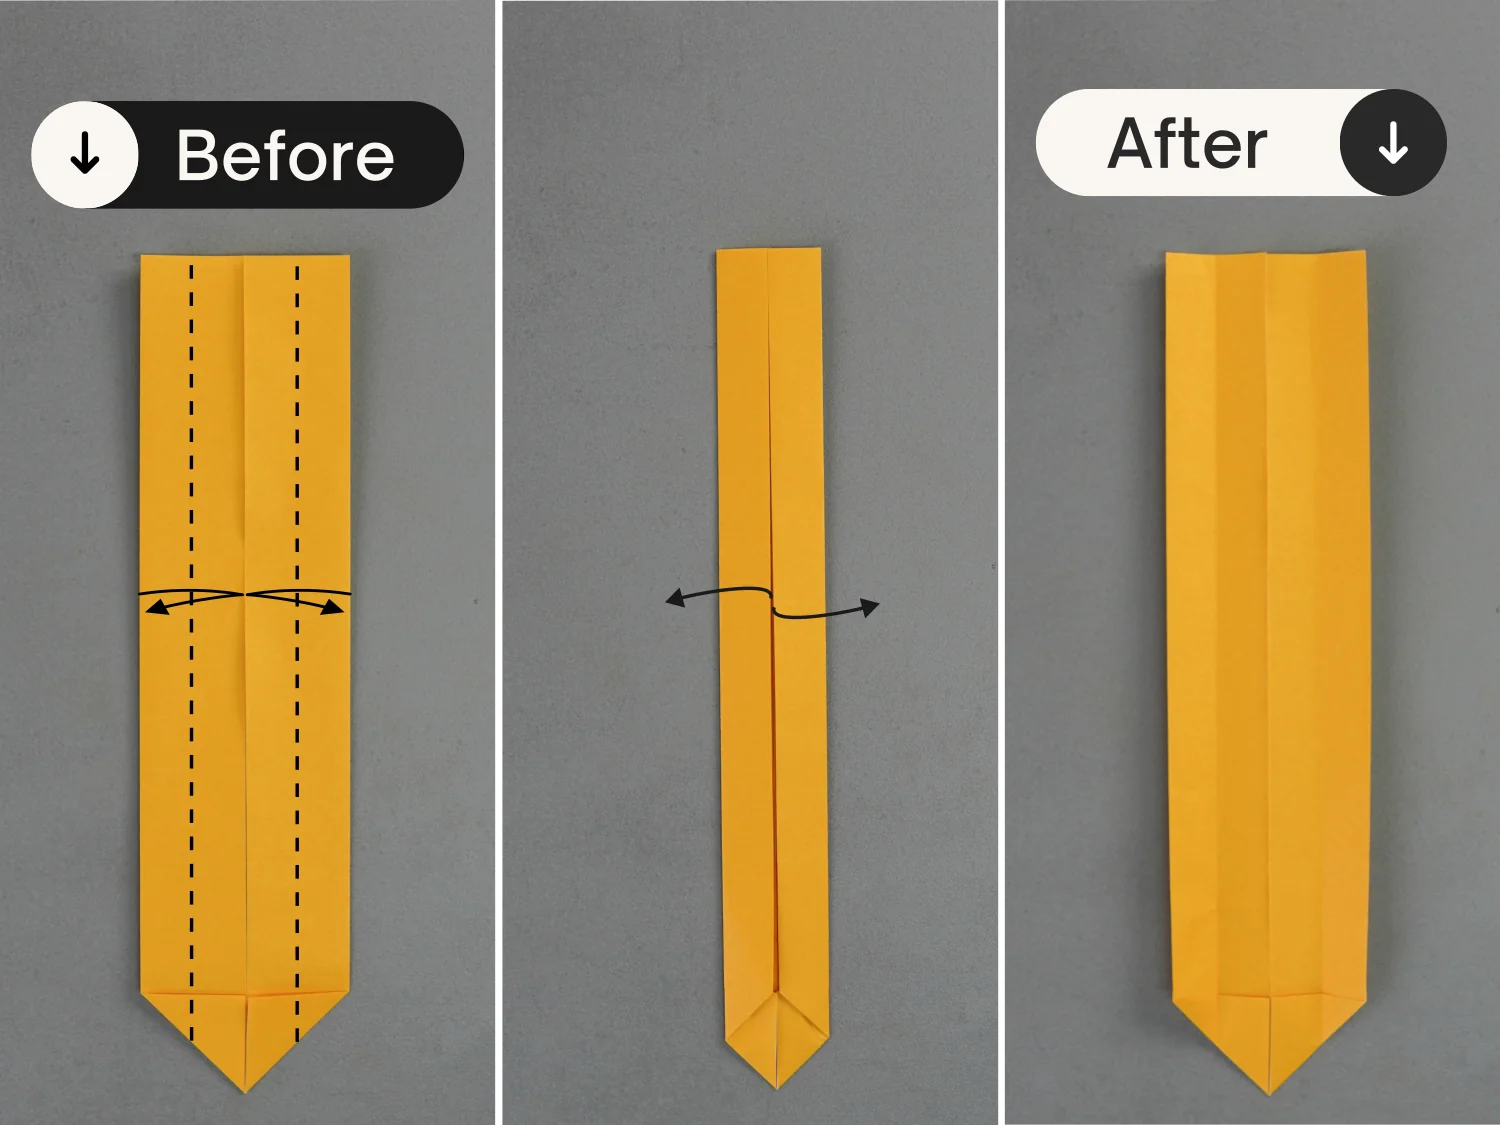
Step 7
Turn over the paper from left to right, and fold the crease you made in the previous step indicated by the red dotted line to align with the black line.
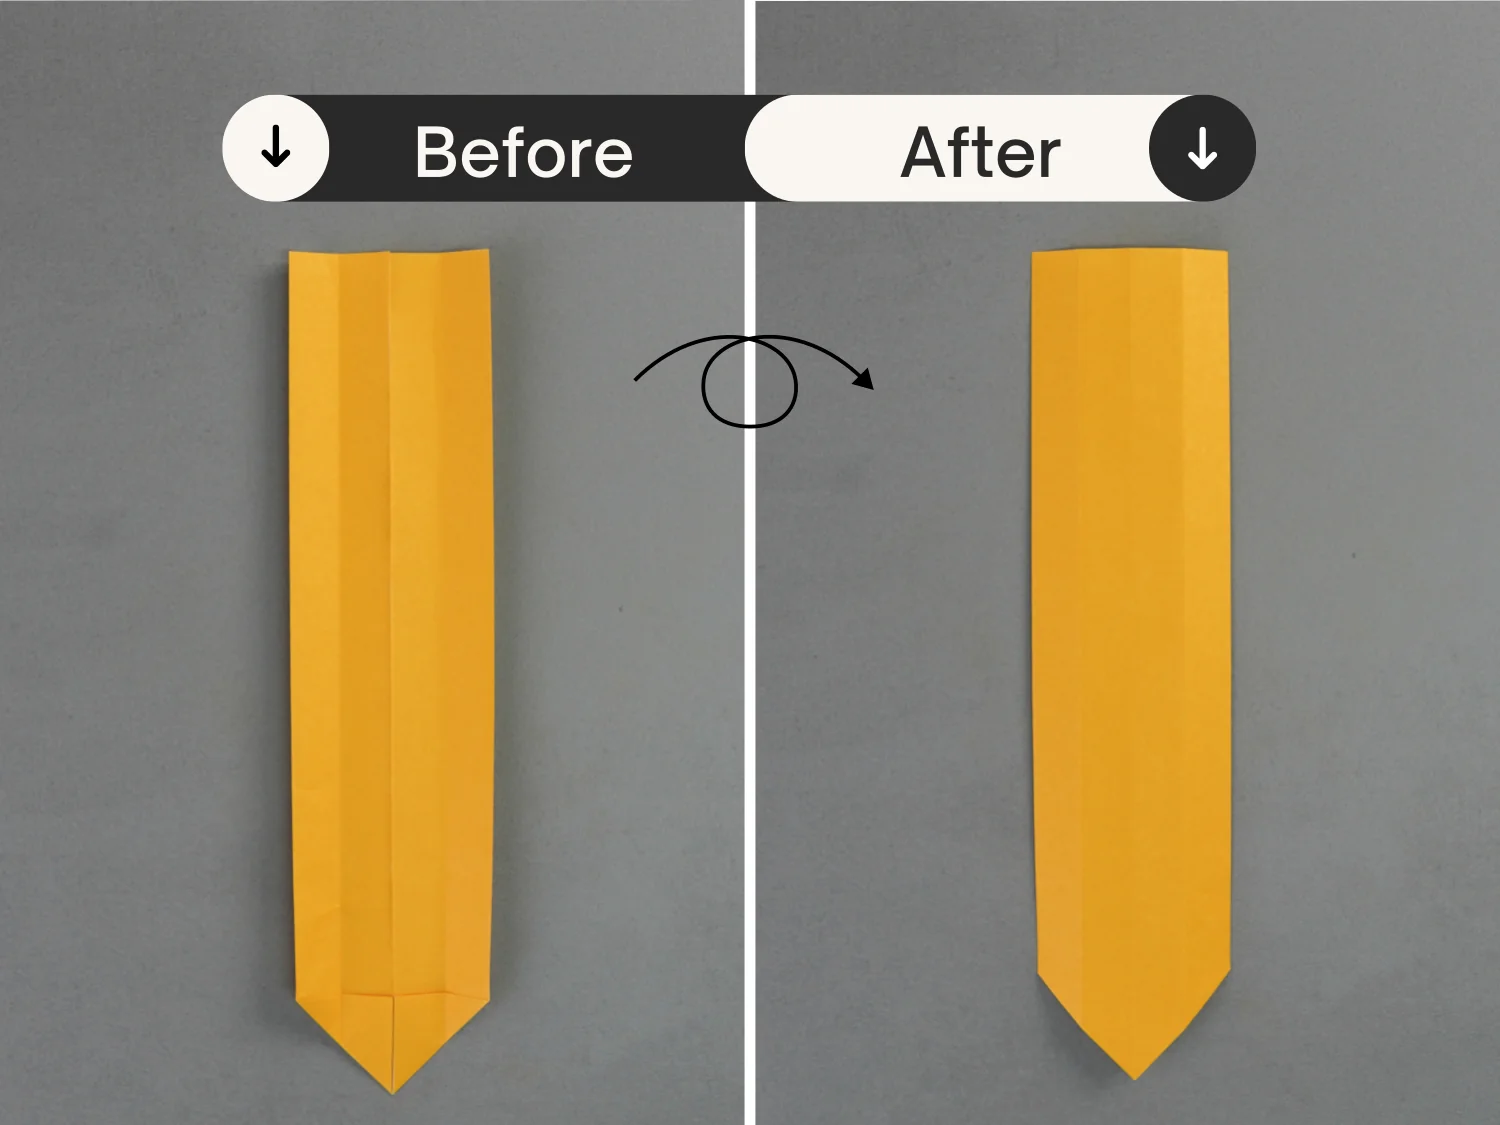
Step 8
Fold both sides along the black dotted lines on both sides, aligning them with the vertical crease in the middle to make the sword narrower. And, fold the crossguard on each side back to the sides.
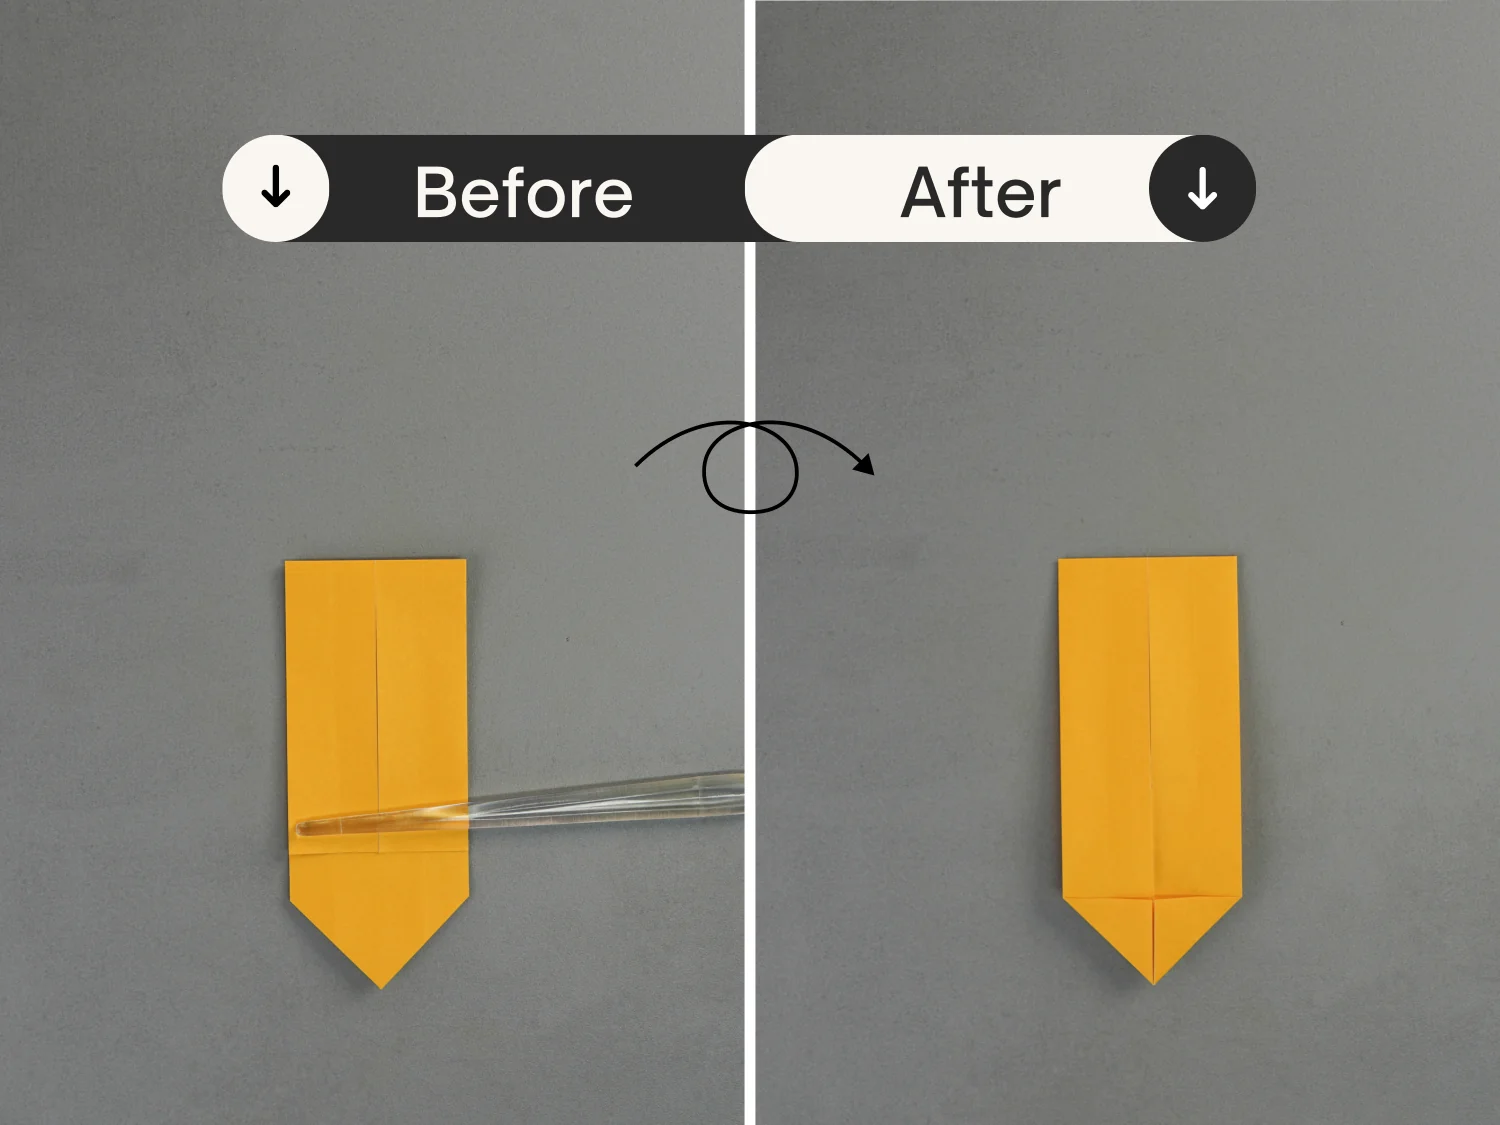
Step 9
Fold the left and right edges of the blade along the black dotted lines, then flip the model over from left to right, and valley fold the center vertical crease of the blade part. This is the final shape of the easy origami sword.